Expanding your Maker’s Workbook

Adding a storage pocket to your Maker's Workbook

Do you ever wish there were a few more pages in your Maker’s Workbook?  Do you want to write about more than 25 projects?  Do you have a large stash and require more stash pages?

Good news!  We’ve just made some of the workbook pages downloadable so you can print extras and add them to your workbook.  Find all our downloads here.

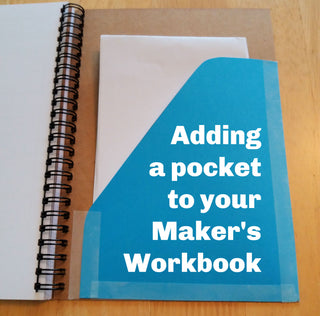
If you’re wondering how to store these extra pages, we have a solution.  Below is a simple tutorial for adding a pocket to the back cover of your workbook which you can store the extra pages in. All you need is a piece of card which is 13 x 16cm. You could use some cardboard from your recycling to colour match the Kraft covers of the workbook.  Or like me you could pick a contrasting colour. I decided to use a piece of turquoise card as that is my favourite colour.

Expanding your Maker's Workbook

Start by drawing a 13 x 16cm rectangle on your card. Yes, that is a ruler of rulers I have there in the picture, when I spotted it I couldn’t resist!

Sewing journal to log your sewing and dressmaking projects

Measure in 5cm from the top right hand corner and make a mark.  Measure up 5cm from the bottom left corner and make a mark. Draw a line joining the two marks, making a diagonal line across the card board.

Knitting journal extra downloads

Cut along that line and the 3 sides of the rectangle.

How to add extra pages into the Maker's Workbook

Curve the corners either end of your diagonal line so you don’t have a sharp corner to catch yourself with when adding things into the pocket.

How to add a pocket in the back of a notebook

Place the pocket piece on top of the inside back cover of your Maker’s Workbook. Aligning the right and bottom sides and bottom right corner.

Start by taping the left hand side of the pocket in place, making sure you don’t catch the spiral rings with the Sellotape. You want half the tape on the pocket piece, and half on the workbook cover.

Maker's Journal sewing and knitting workbook

Tape the bottom and right side of the pocket by placing half the width of the tape over the pocket piece, then turn the workbook over and fold the tape around the edge of the back cover and stick into place.

Log your sewing projects in this dressmaking journal

All that’s visible from the back of the workbook is 2 thin pieces of tape. You can now start printing extra pages to add into your workbook. To store them in the pocket you need to fold an A4 sheet into half lengthways and widthways to make it fit.

Add a cardboard pocket to your Maker's Workbook