Free Resources
-
Give your Makers Workbook a Boost!
Running low on space? Planning stepped up a notch? Stash out of control?! Pick up our free downloads of extra stash pages and project record pages so you never run out of...
-
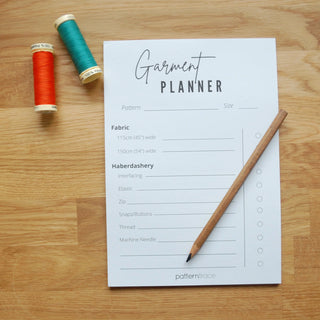
Project Planning Tips
Spending a bit of time planning your projects out can help to save you time and stress in the long run. Sometimes it can be hard to decide what to...
-
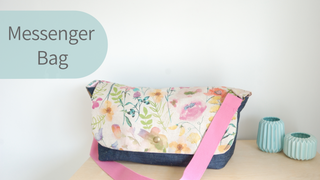
Beginners Messenger Bag Project
This stylish medium size messenger bag is handy for day to day use. It has an internal pocket and a snap fastener so the flap doesn’t blow open. It is...
-
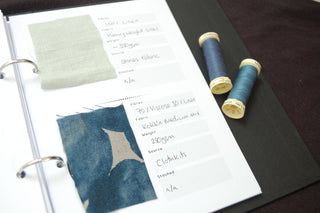
Organise your stash
Find out how our fabric swatch book will help keep your stash much more organised.
-
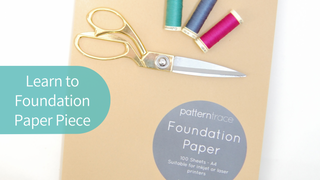
Foundation Paper Piecing Beginner Tutorial
Economy Square Block
-

Sewing Room Organisation
Great ways to make your sewing room more organised.
-
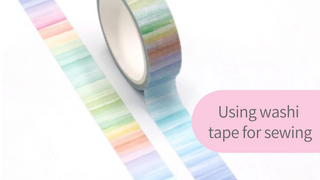
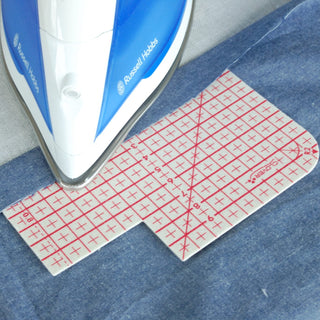
Using Washi tape when sewing
We have decided to start selling a range of pretty washi tapes as washi comes in so useful in so many ways when you are sewing. We’ve round up our favourite uses...
-
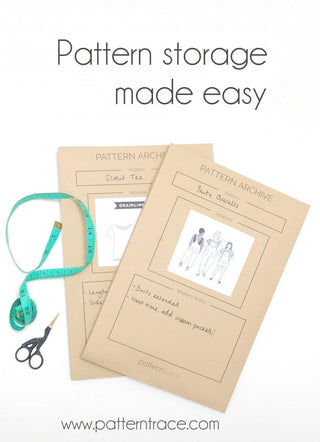
Pattern Storage Envelopes
I cannot tell you how long I’ve been looking for a simple, stylish way to store my sewing patterns! So I am stoked to bring you our newest product.. The Pattern...
-
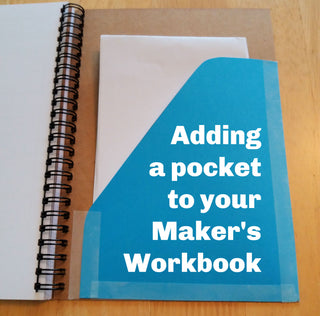
Expanding Your Maker's Workbook
Do you ever wish there were a few more pages in your Maker’s Workbook? Do you want to write about more than 25 projects? Do you have a large stash...


